- Thread starter
- #21
Today's mail")


Follow along with the video below to see how to install our site as a web app on your home screen.
Note: This feature may not be available in some browsers.
Welcome to Tekno RC Forums! Are you a Tekno RC fan? If so you're in luck as you've have arrived to the biggest and best Tekno RC community.
Come join our community and ask your questions, show off your Tekno RCs and share your experience!
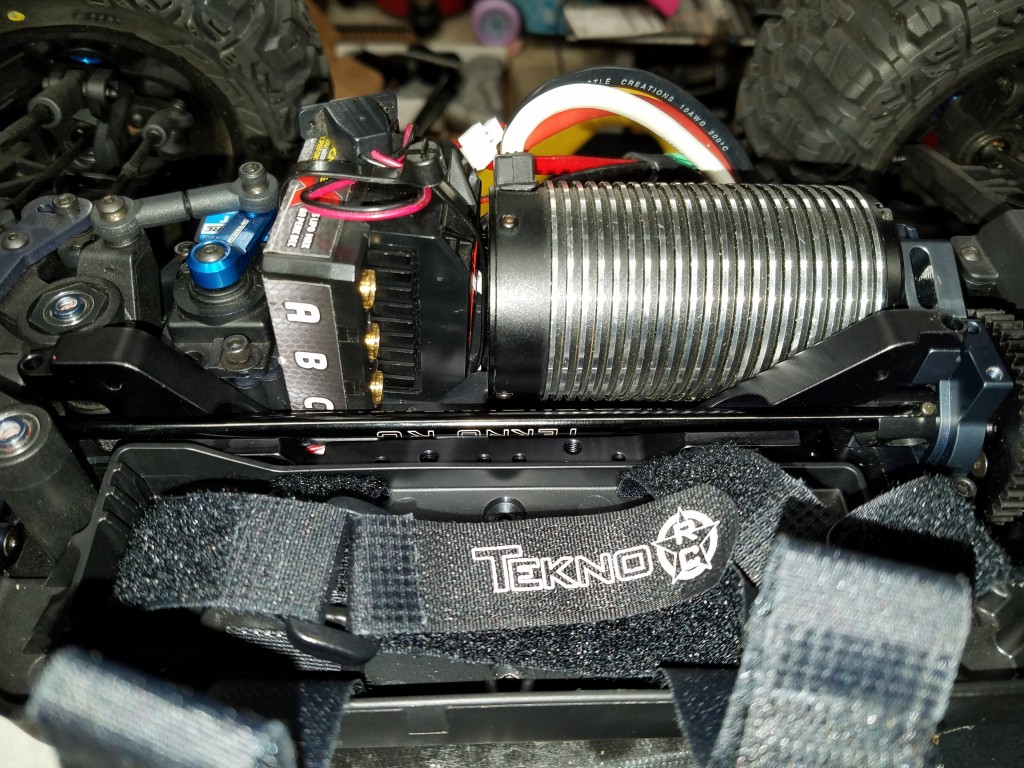
That center brace should make a huge difference. It did mean I couldn't route the MAX8 power button over to behind the battery tray though.


")
Good to see you here man.Good to see you back at it Pauly
I just installed the full center crace from M2C in mine, and when I first went to install, the hole attached by the steering plate wouldn't line up, then I realized I needed to leave the screws along the bottom loose and get them all started before tightening them down.
When I did that it went together just fine. I just received mine within last two weeks.
TT
My center brace fit ok. The holes were about 1mm off on the chassis holes after I started the screws in the steering plate and motor mount. Took just a bit of chassis flex to line everything up. I was able to do it with one hand and start the screws with the other.
Tekno horn is in route. Now I have a 25T servo horn to use elsewhere
did you have to loosen your steering post bolts to slide the brace under the steering plate?
Negative. Slid right under with no issues.
ok thanks. then mine is going back for sure, i'd rather roll the dice on another one once more than have to modify mine to fit ... weird that they are so finicky. i think it's kind of ridiculous that you have to muscle them in with so much effort considering the stock ones silp right into place w/o having to loosen any screws, but I guess that's how aftermarket parts are, they never fit perfectly, it's no different working on a real car...
Mass producing any part can always end in tolerance issues. Hope you have better luck with round 2 cuz it's a nice upgrade IMO. If I remember correctly you were part of the tolerance issue with the motor puck binding in the slide, as was I when it was 1st released?
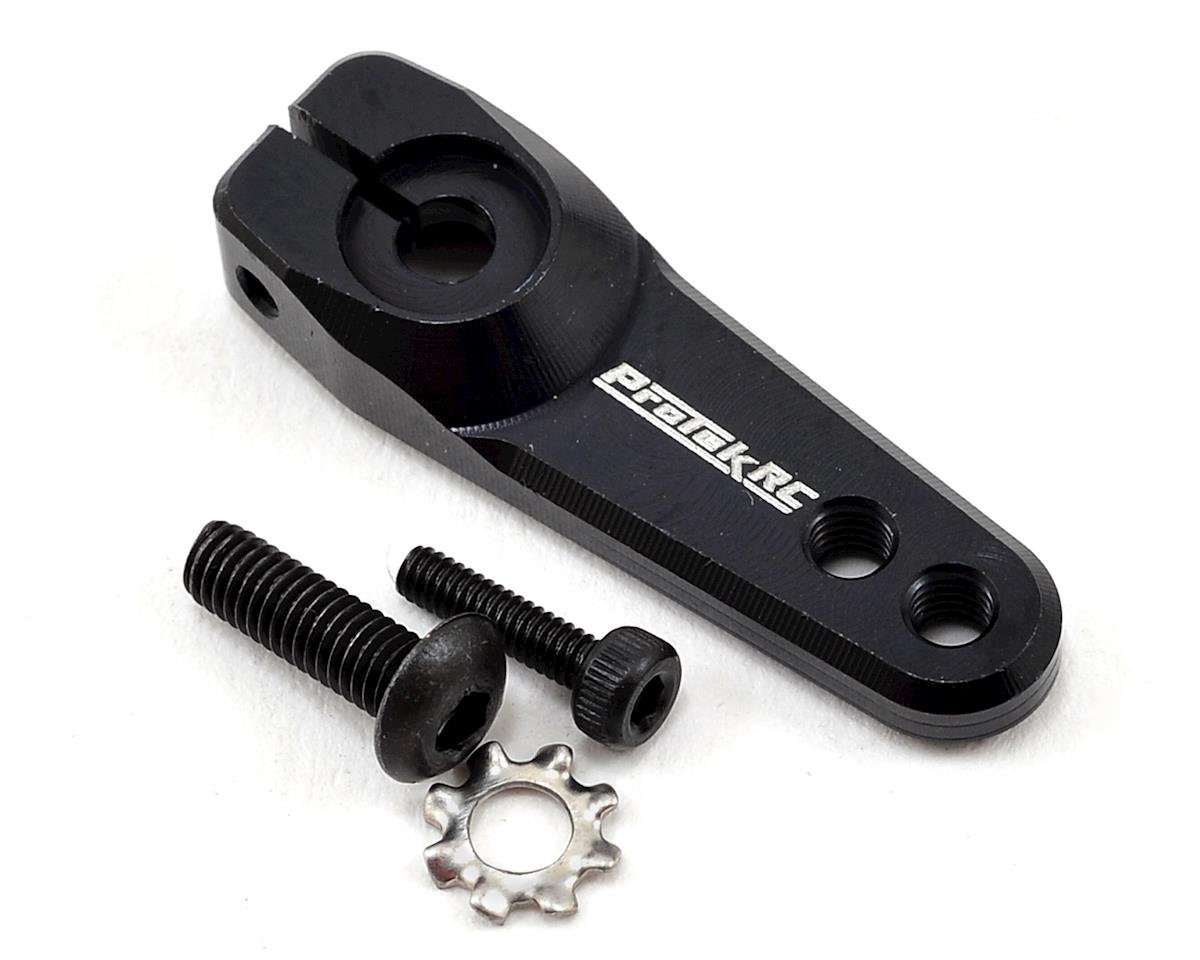
when your tekno horn shows up can you take a look at how many threads are on the horn for the linkage screw ball? by the pics it looks like the tekno has like half of the amount of threads as the protek horn, maybe they do that for weight reduction, not sure, I kind of don't like that and wonder if the picture is deceiving. I'm knida wanting a clamping style horn now ha ha, but just noticed that.
They updated their servo horn awhile back. I purchased the TKR5253B which gives you the 2 mounting holes for the linkage and a 3mm clamping screw. There isn't much for threads in the horn itself because it's a countersunk hole on the servo side of the horn, so you're losing some of the thread depth from the counter bore. If that makes sense.Will do. Should have it Wed or Thurs.
trying to wrap my head around why it would be countersunk on the bottom side of the horn if the ball mounts on top. can't seem to find a picture anywhere of the bottom...

Register and gain access to Discussions, Reviews, Tech Tips, How to Articles, and much more - on the best Tekno RC community for RC enthusiasts that covers all aspects of the Tekno RC brand!
Register Today It's free! This box will disappear once registered!