- Messages
- 1,235
- Reaction score
- 1,011
- Location
- Austin, TX
- Tekno RC's
- EB410
- EB48
- ET48
- ET410
- MT410
- SCT410
- Driving Style
- Racer
This will be a live post that I will update regularly as new information becomes available. Although this thread will be targeted for club racing, I expect a lot of this information may be useful for bashers as well. I am a club racer who has been a basher since 1986 and got into club racing around 2010. I have nearly 8 years of experience racing the SCT410.1 (original release) and will be comparing newer .3 features as well as .4 upgrades and aftermarket upgrades to consider too! I would consider my skill level as an "Expert Driver", probably one of the slowest of the "Fast Guys" in my area who averages between 96%-98% consistency.
RC Tech SCT410.3 Thread
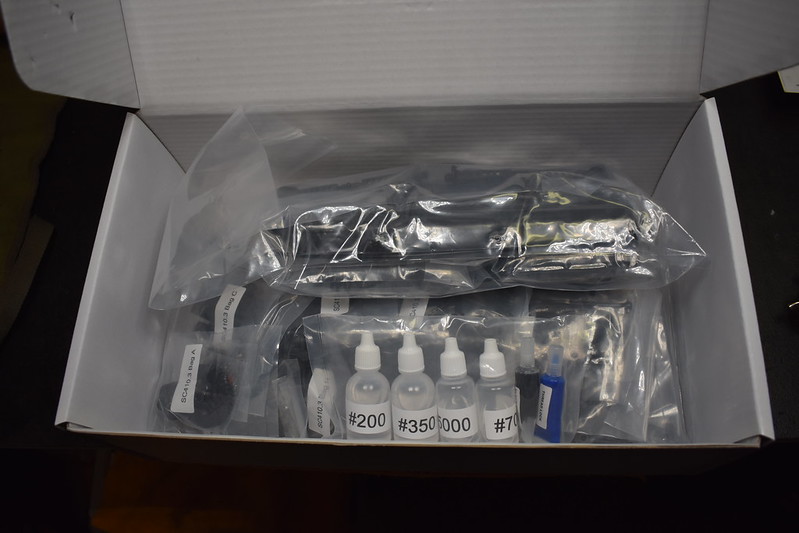
USER MANUAL
Summer Setup for hard pack dirt, low grip
Winter Setup for hard pack dirt, low grip
Hits:
Recommended Upgrades:
Build Tips:
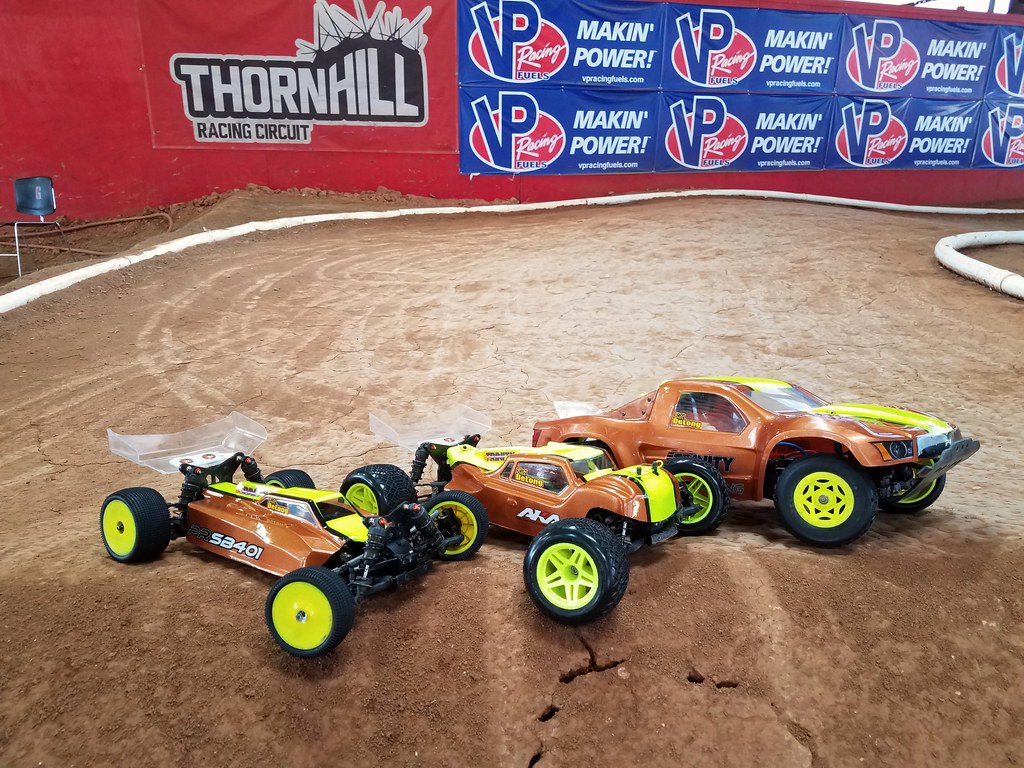
PR Racing 401R (1/10 4WD Buggy - 13.5T Stock)
PR Racing 401R-T (1/10 Mini Truggy - 5.5T Mod)
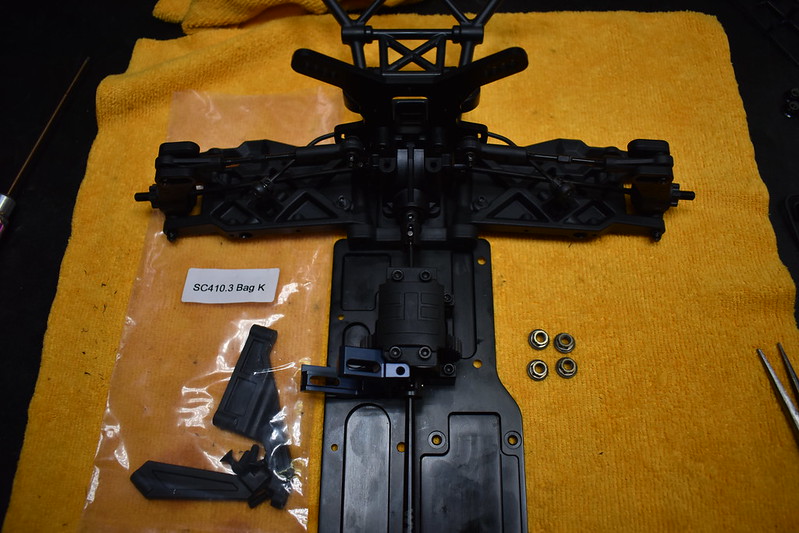
RC Tech SCT410.3 Thread
USER MANUAL
Summer Setup for hard pack dirt, low grip
Winter Setup for hard pack dirt, low grip
Hits:
- One of the most durable platforms on the market
- 50% Lifetime Warranty
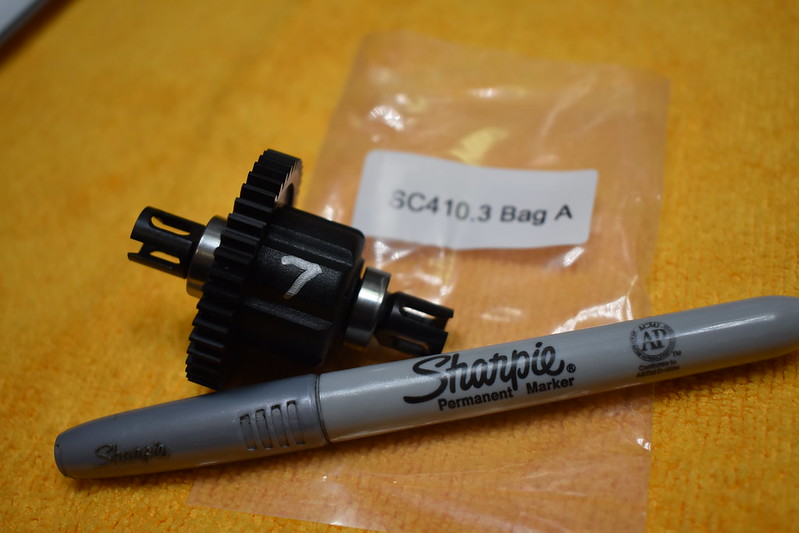
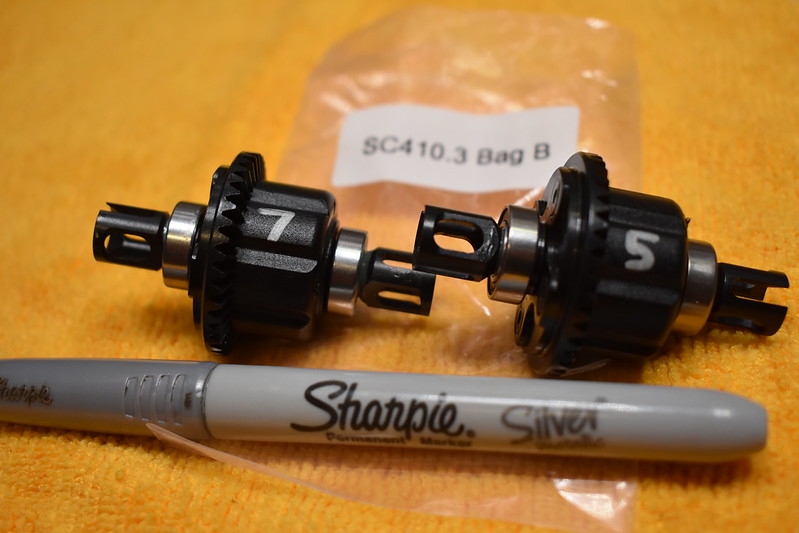
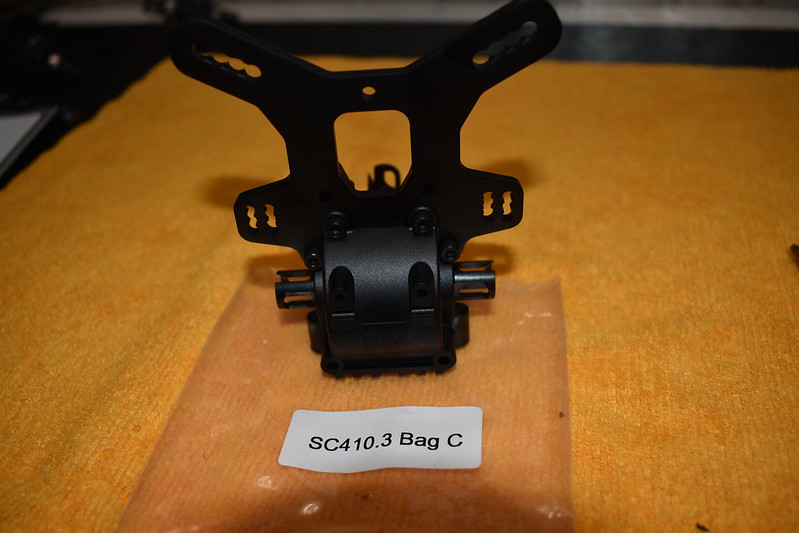
- Quick access to center diff
- Based on EB48.3 with many .4 options compatible
- Dated design, last release was in 2015
- key 2.0 updates are not compatible
TEKNO sets the standard for all other race grade brands to follow in this class! They check off all the boxes for being one of the most competitive, durable and high quality products backed with plenty of team driver support as well as one of the best parts support supply chains on the planet! You can't go wrong with this platform for either a basher or a racer, I highly recommend this over any other SCT on the market today ")
Recommended Upgrades:
- Durability
- Convenience
- Extend Tuning Window
- Reduce Performance / Increase Durability
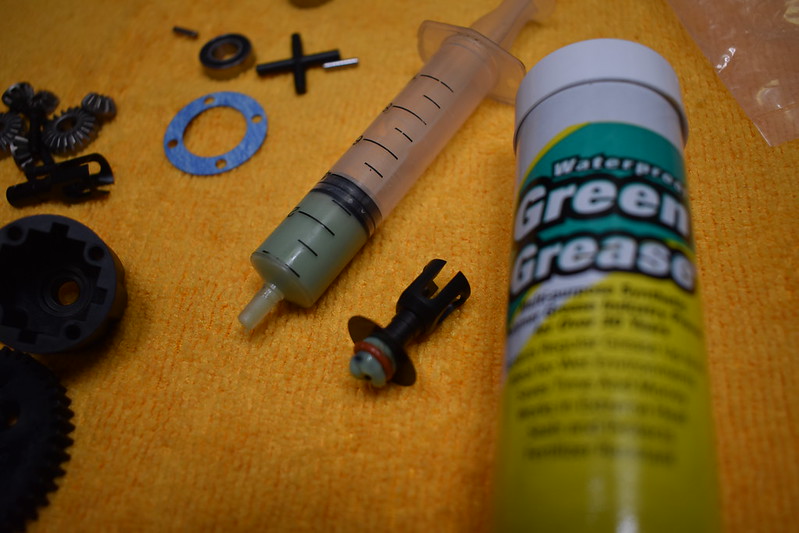
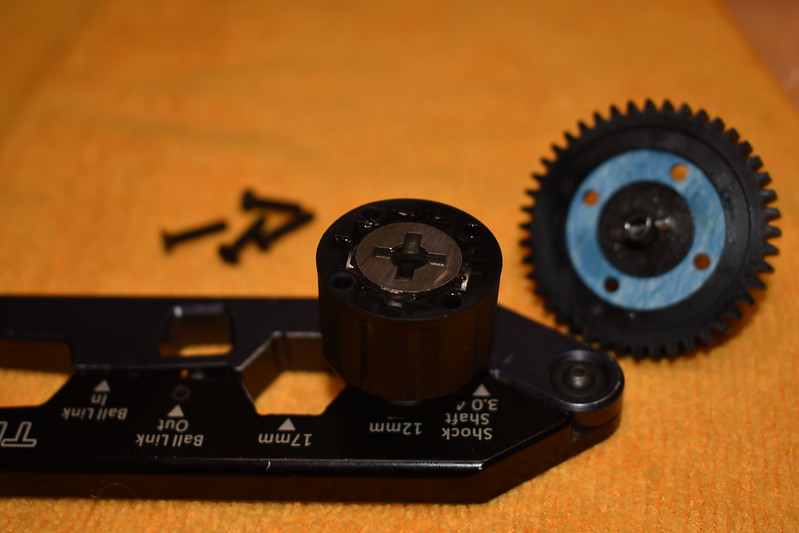
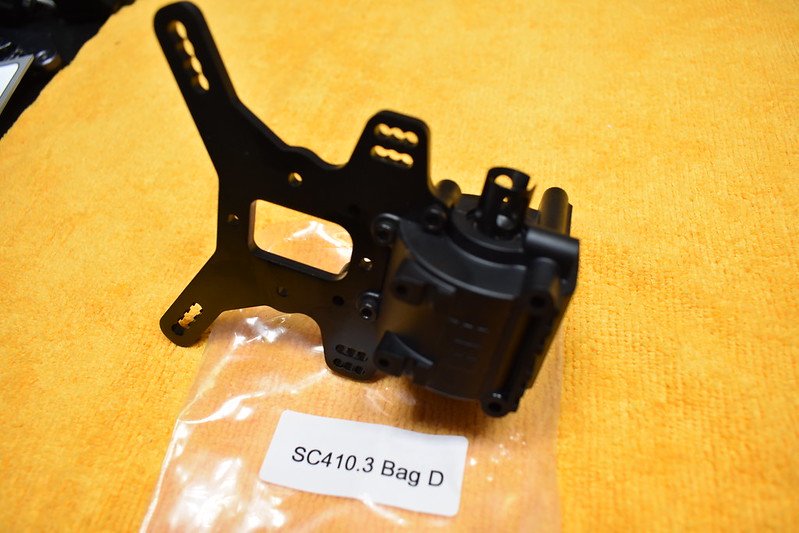
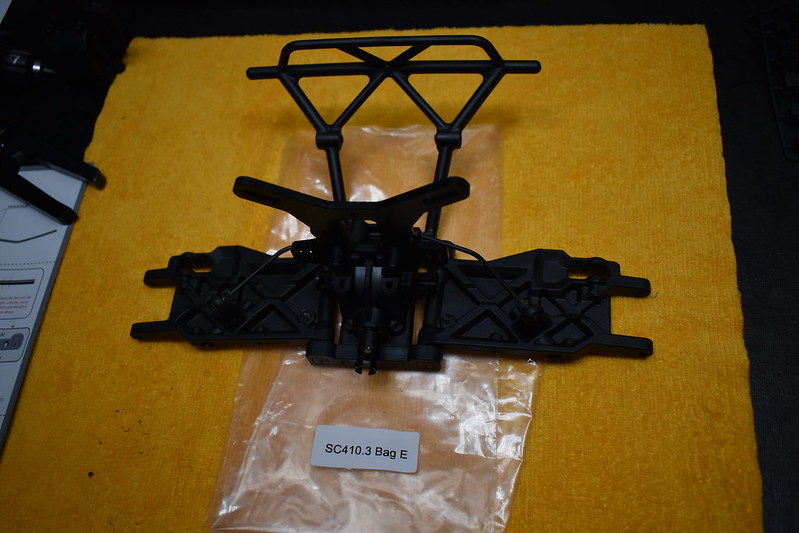
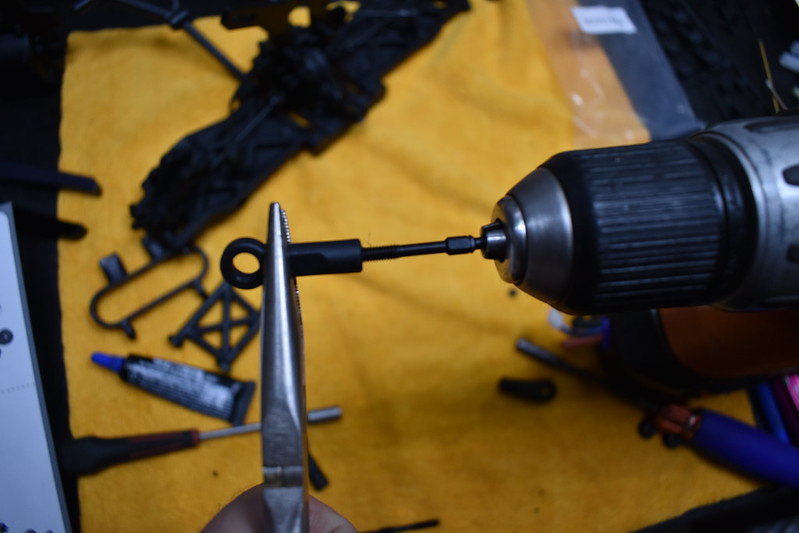
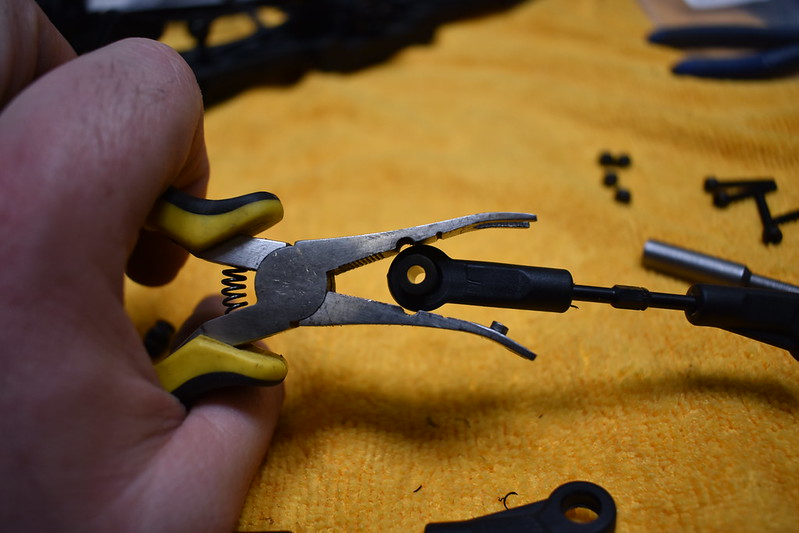
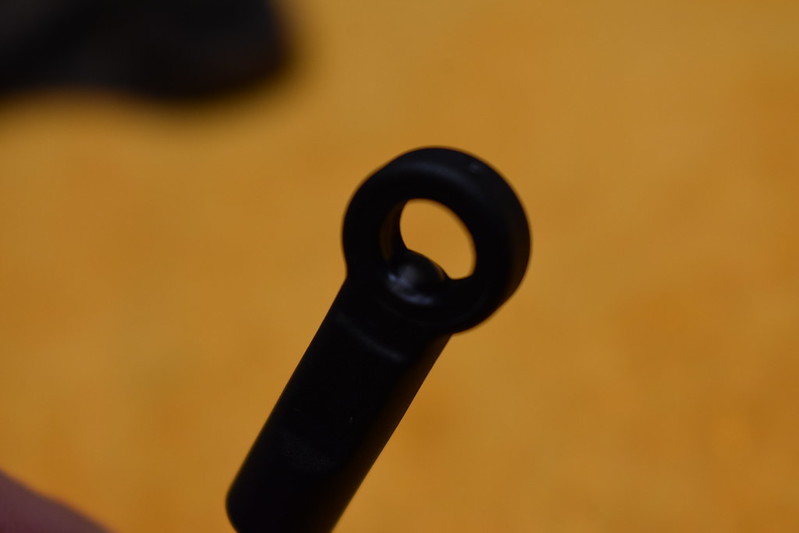
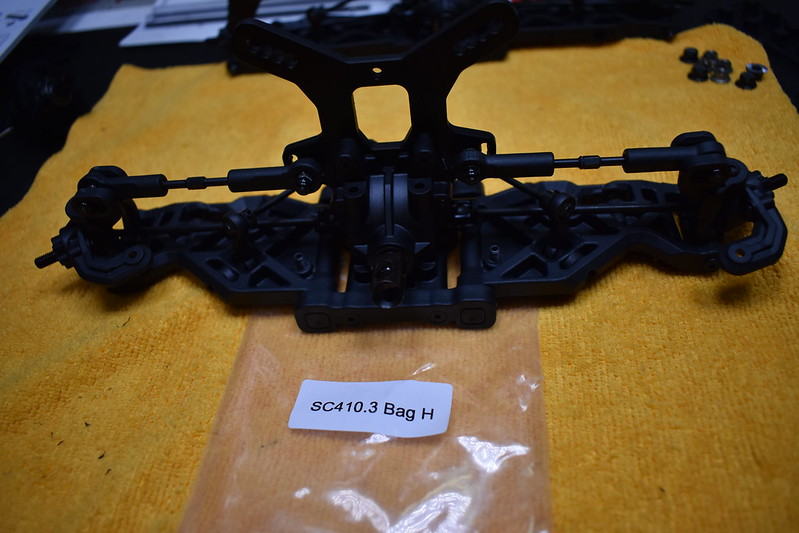
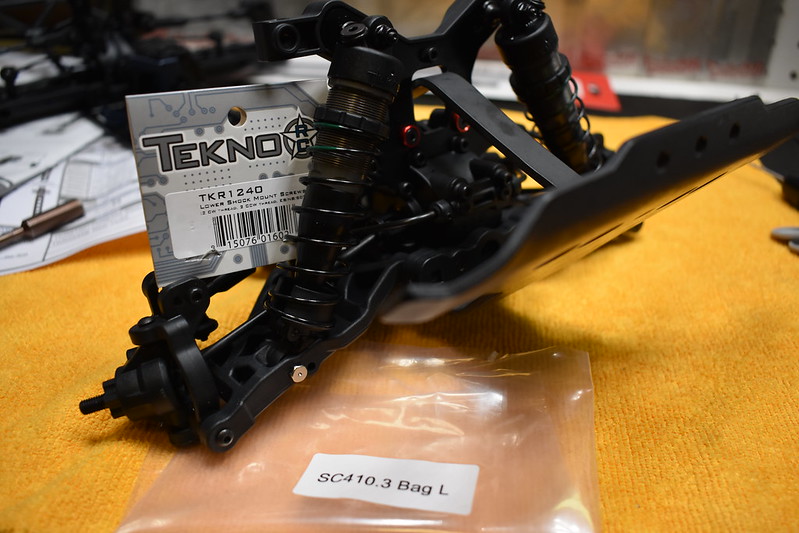
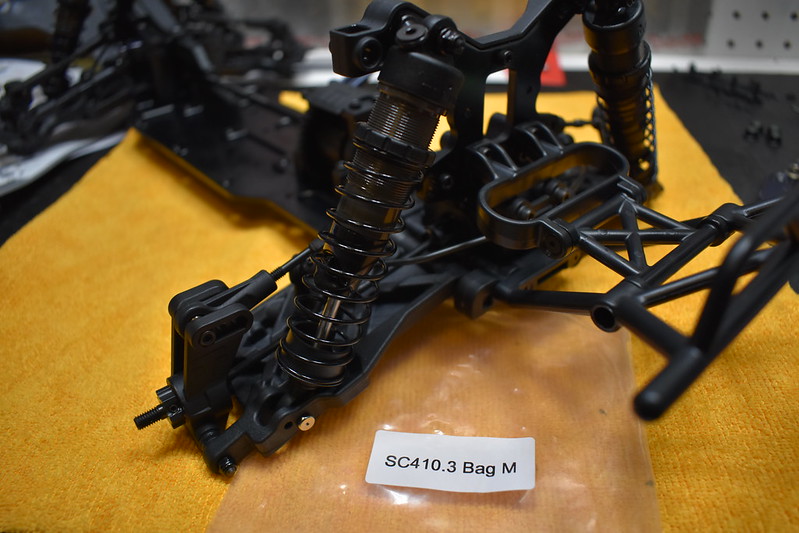
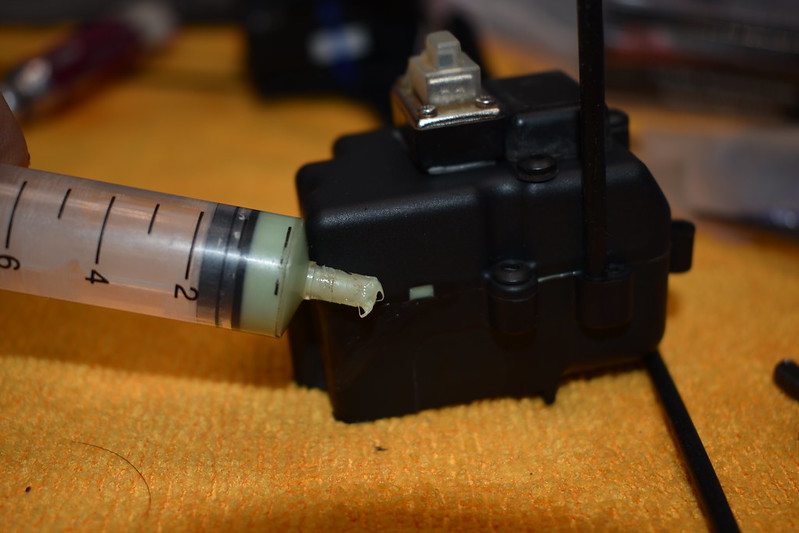
Build Tips:
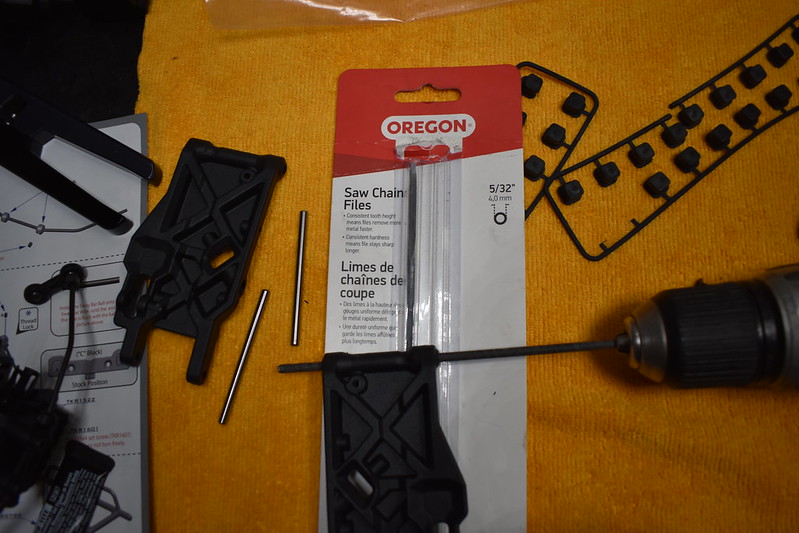
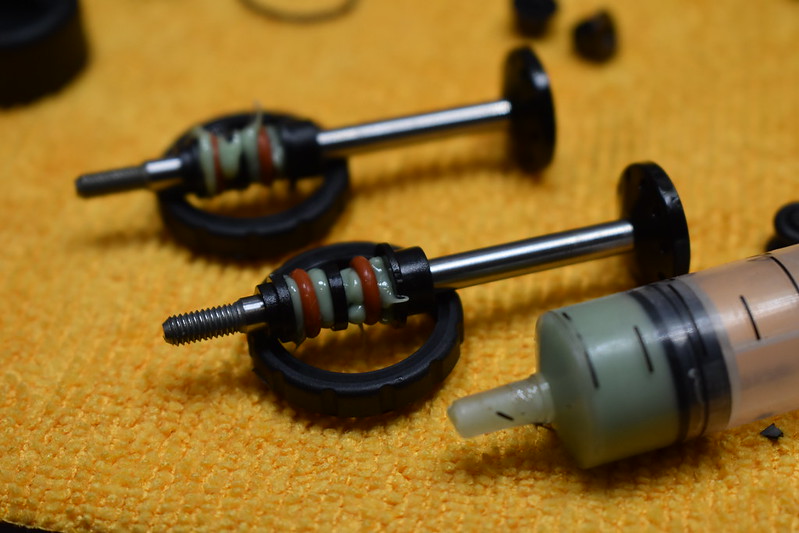
- Apply Green Grease "skewer" style
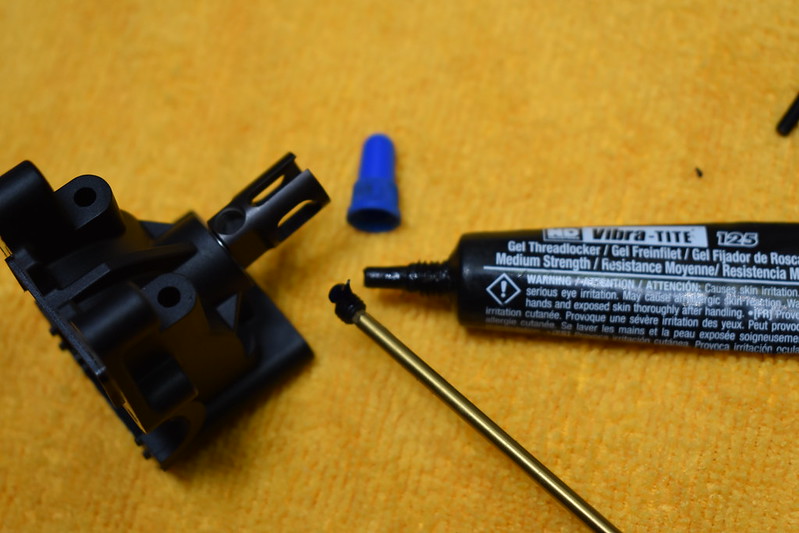
- Use a Gel based Thread Lock
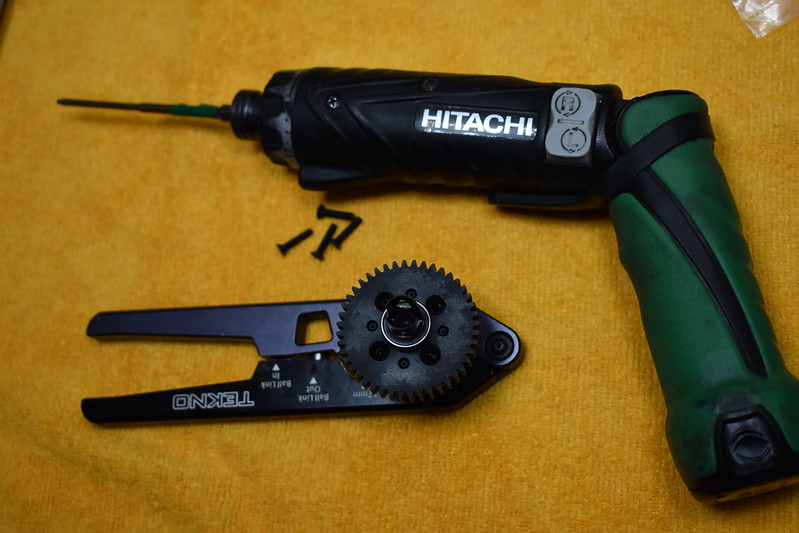
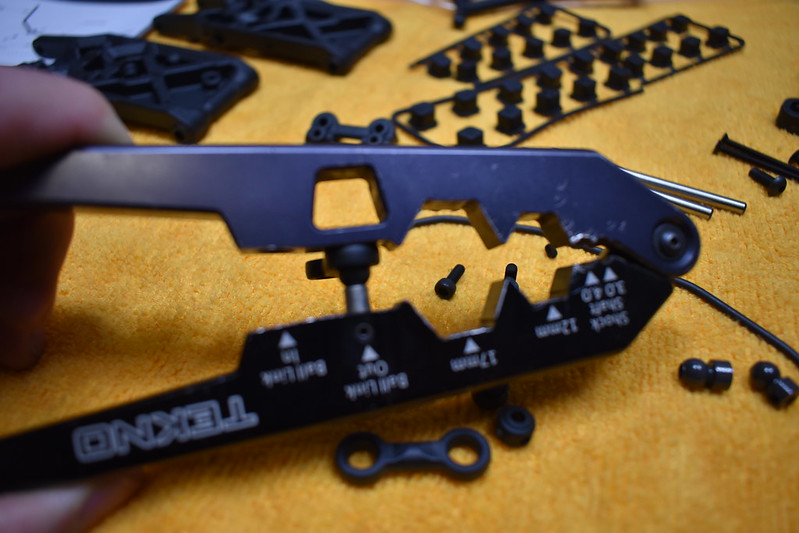
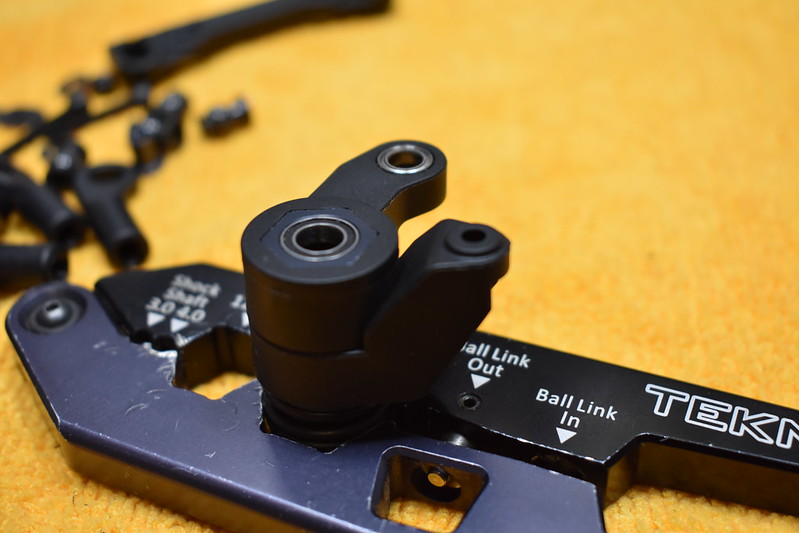
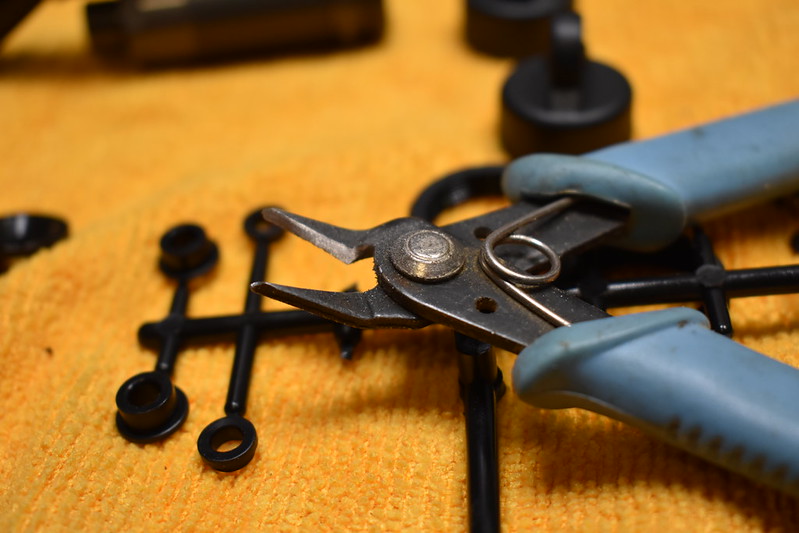
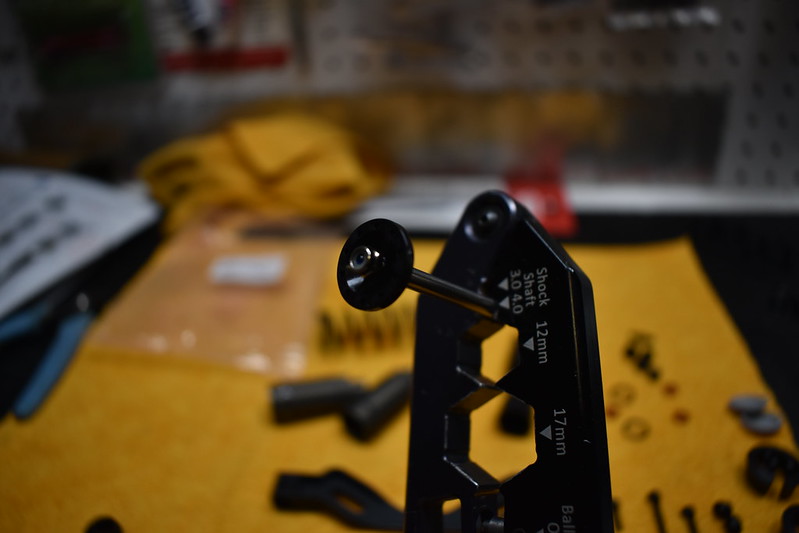
- Save time with a multi-tool
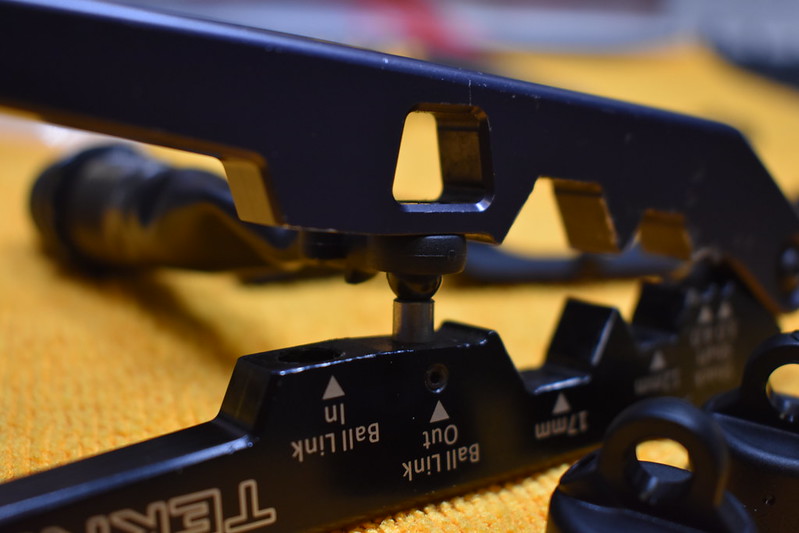
- Break in ball links
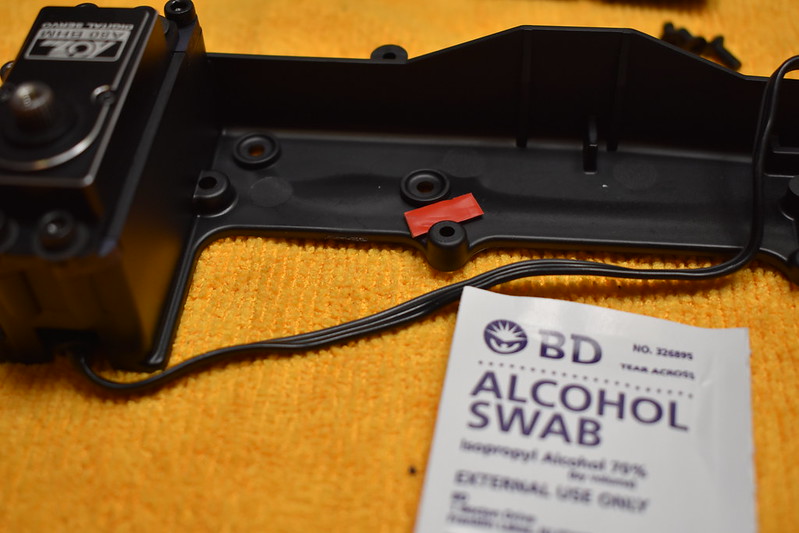
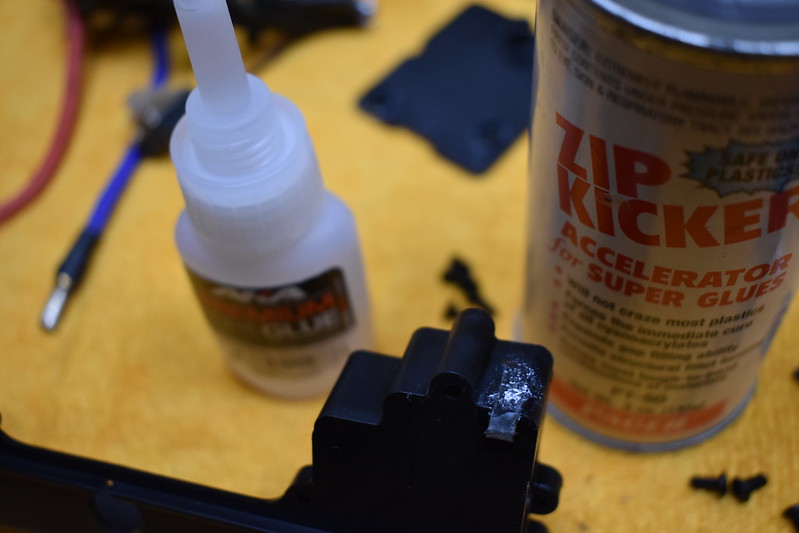
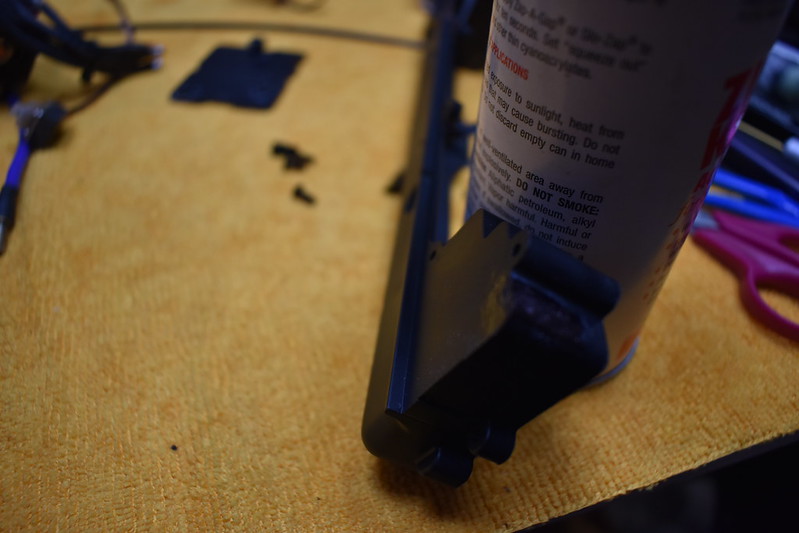
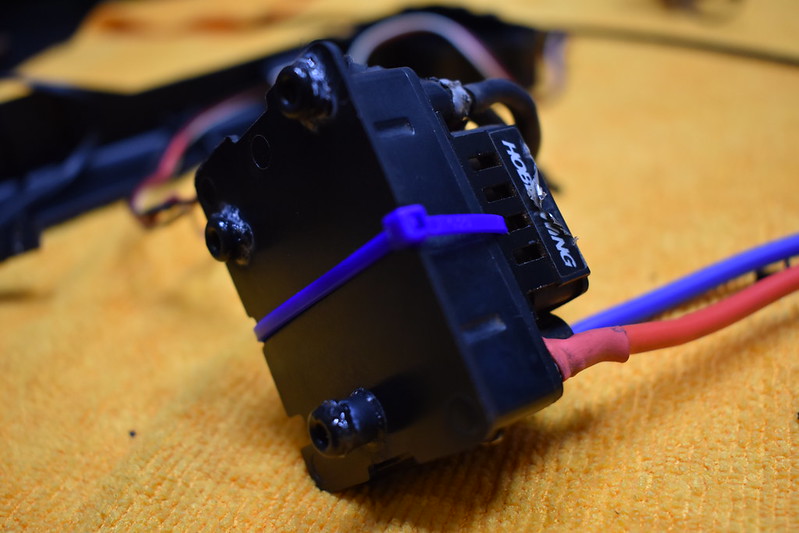
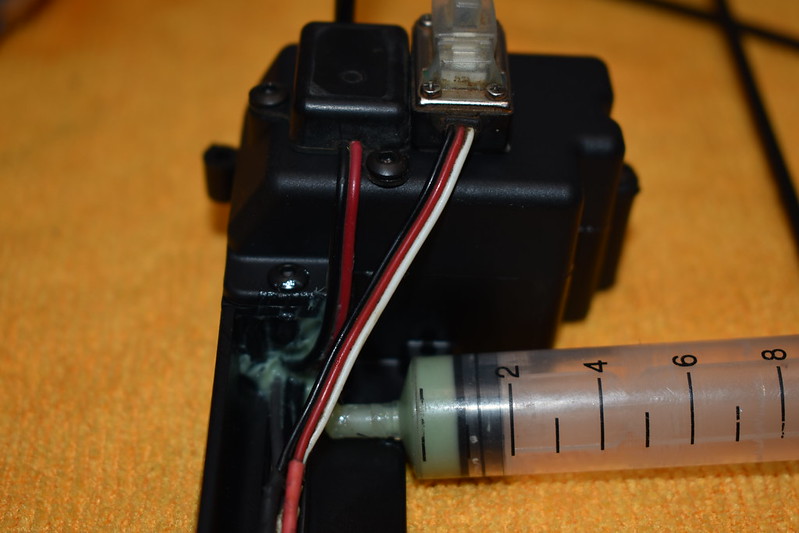
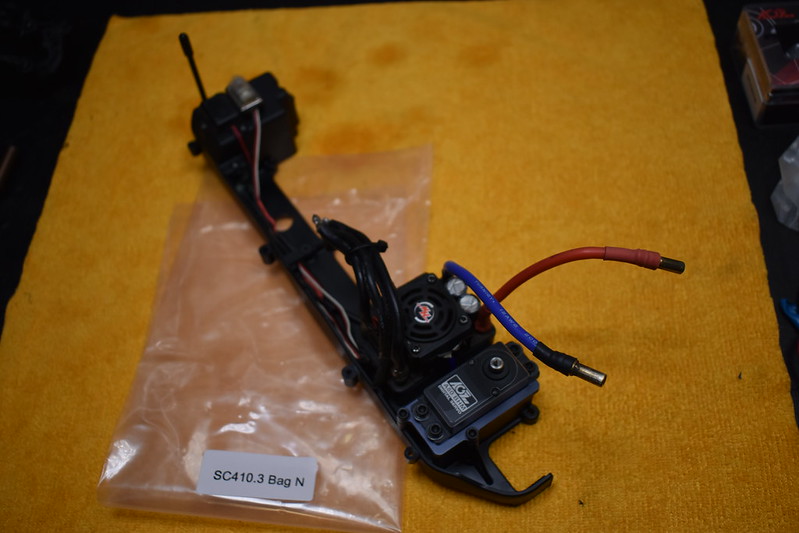
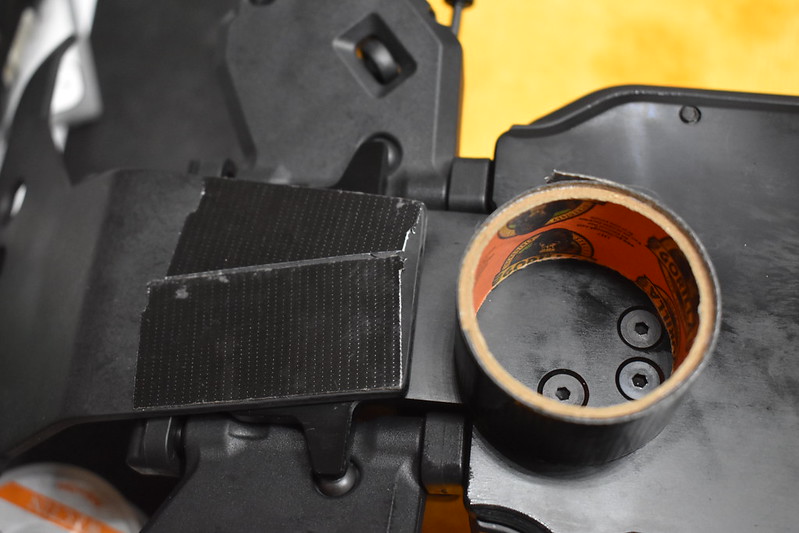
- Secure ESC and dust proof the radio box
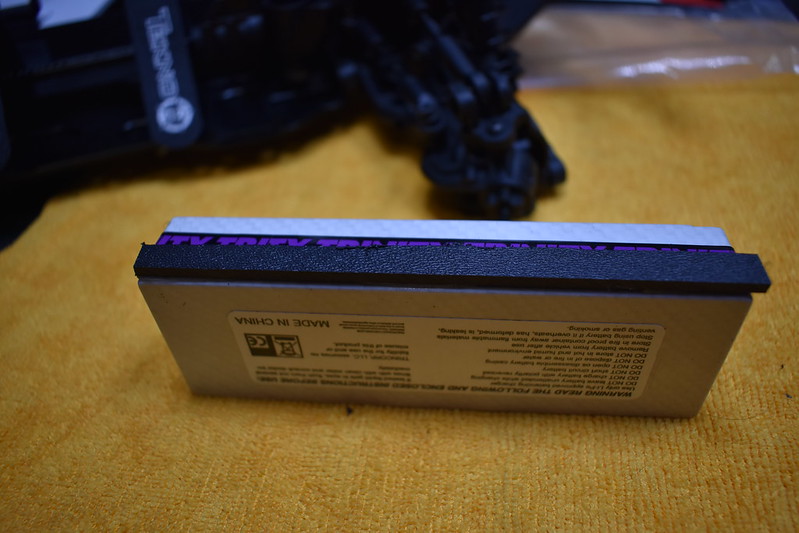
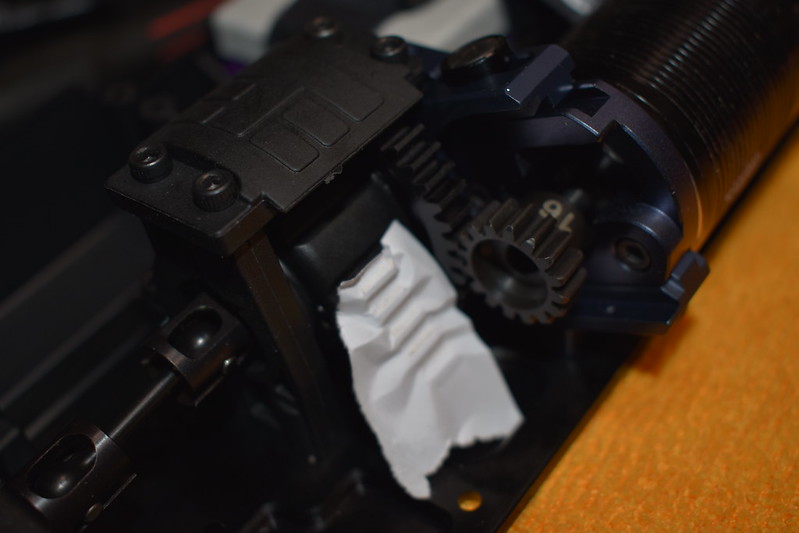
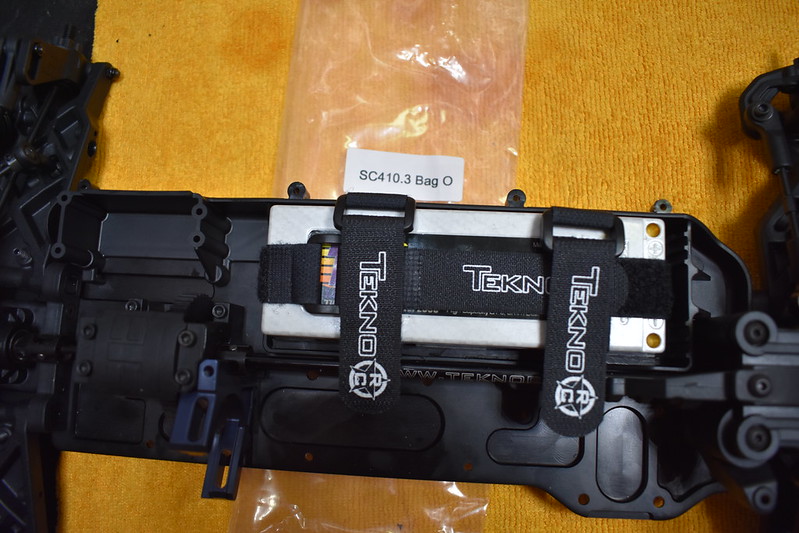
- Shim battery, set mesh and protect screw heads
PR Racing 401R (1/10 4WD Buggy - 13.5T Stock)
PR Racing 401R-T (1/10 Mini Truggy - 5.5T Mod)
Last edited: