- Messages
- 1,329
- Reaction score
- 1,118
- Location
- Austin, TX
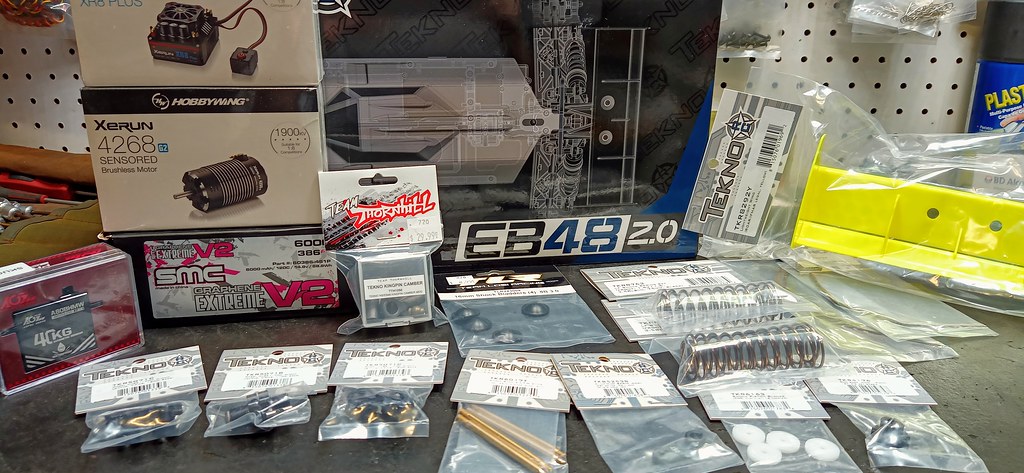
- Tekno RC's
- EB410
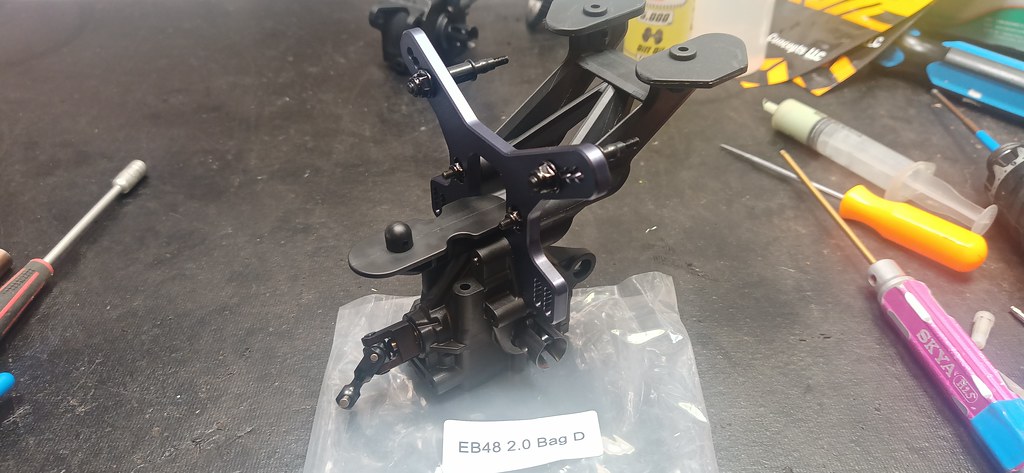
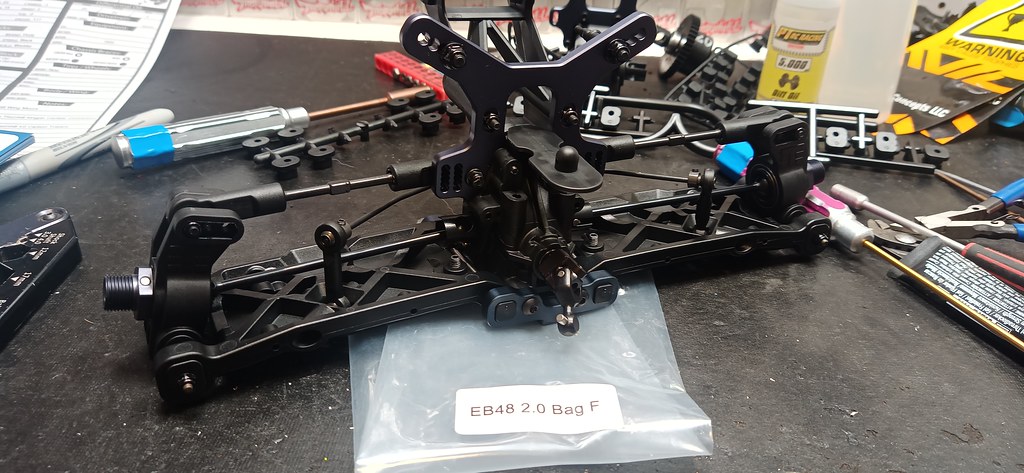
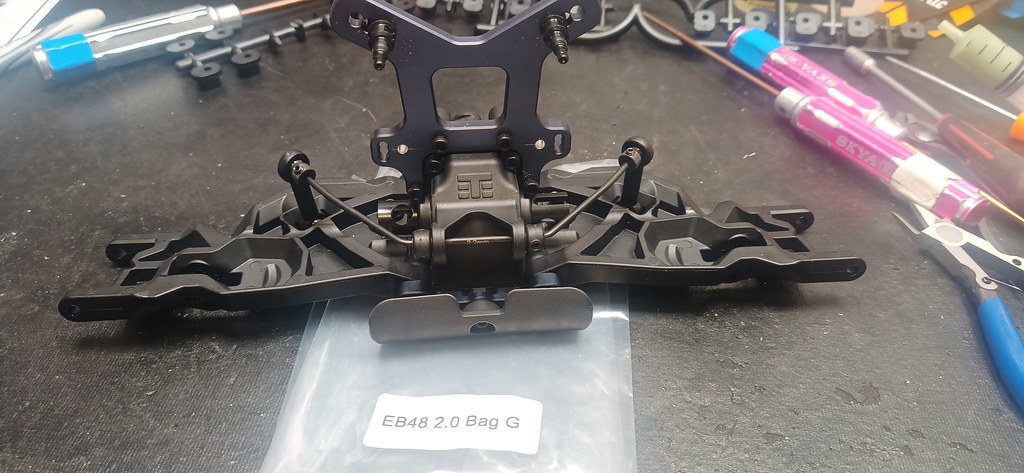
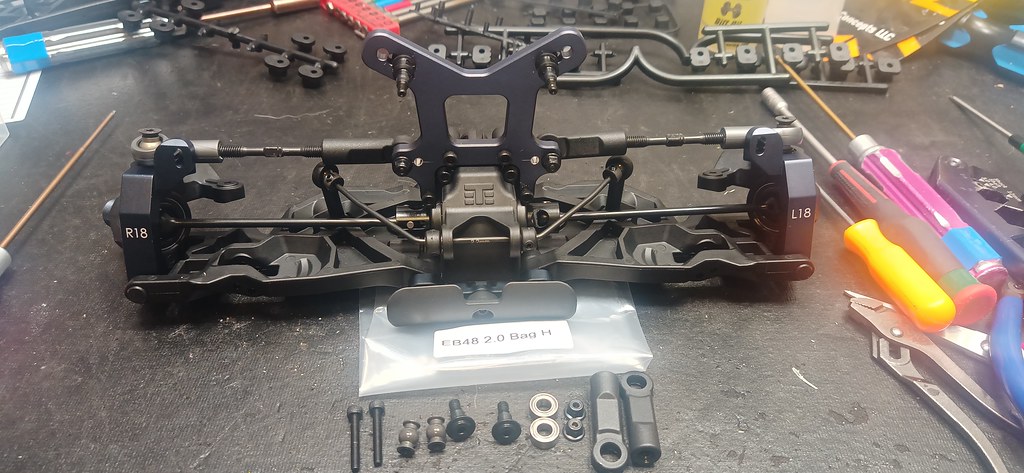
- EB48
- ET48
- ET410
- MT410
- SCT410
- Driving Style
- Racer
*** IMPORTANT UPDATE ****
I am no longer maintaining this thread, I have sold this car and have chosen to move over to the following platform:
https://www.rcgroups.com/forums/showthread.php?3855991-BUILD-REVIEW-HB-Racing-E8T-evo3
Although this thread will be targeted for club racing, I expect a lot of this information may be useful for bashers as well. I am a club racer who has been a basher since 1986 and got into club racing around 2010.
I have about 4 years of experience racing the EB48.3 and EB48.4 platforms. I have taken a break from 1/8 racing for the past 18+ months as 1/10 racing has been far more enjoyable for me, though due to low turnout for 1/10 racing in my area lately, the time has come for me to get back into 1/8 again and I look forward to exploring what the EB48 2.0 has to offer!
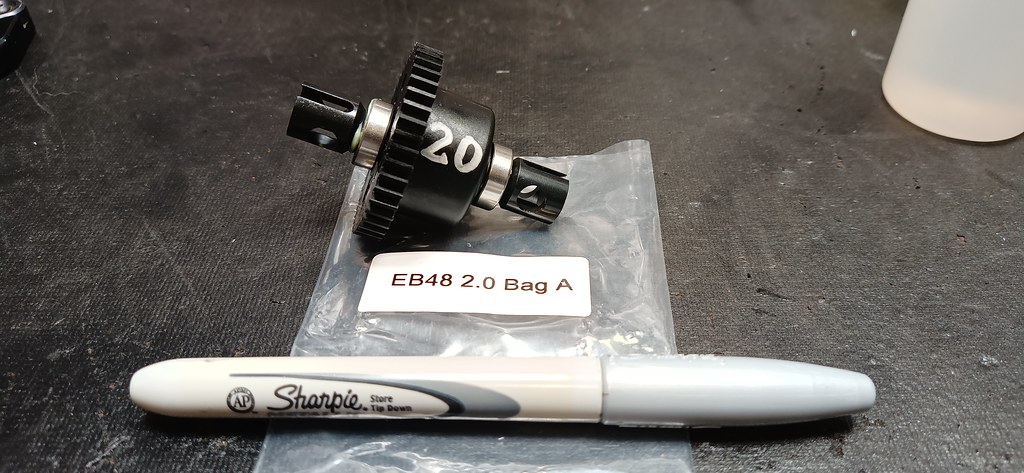
*** 6-SEP-2010 Order placed for kit through TEKNO using their military discount, expect kit to arrive the week of 14th and will provide more updates then
RCTech EB48 2.0 Thread
USER MANUAL
Setup for hard pack dirt by Chris Allison --> This is going to be my starting setup
Bill's Setup OCT-2020 (semi-aggressive)
Bill's Setup FEB-2021 (easy to drive)
Hits:
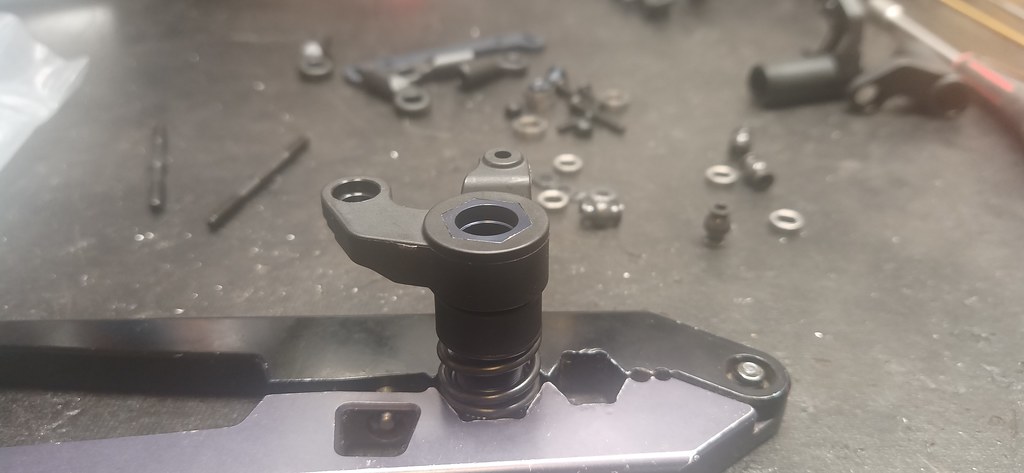
Build Tips:
Spare parts I keep in my pit box:
I am no longer maintaining this thread, I have sold this car and have chosen to move over to the following platform:
https://www.rcgroups.com/forums/showthread.php?3855991-BUILD-REVIEW-HB-Racing-E8T-evo3
Although this thread will be targeted for club racing, I expect a lot of this information may be useful for bashers as well. I am a club racer who has been a basher since 1986 and got into club racing around 2010.
I have about 4 years of experience racing the EB48.3 and EB48.4 platforms. I have taken a break from 1/8 racing for the past 18+ months as 1/10 racing has been far more enjoyable for me, though due to low turnout for 1/10 racing in my area lately, the time has come for me to get back into 1/8 again and I look forward to exploring what the EB48 2.0 has to offer!
*** 6-SEP-2010 Order placed for kit through TEKNO using their military discount, expect kit to arrive the week of 14th and will provide more updates then
RCTech EB48 2.0 Thread
USER MANUAL
Setup for hard pack dirt by Chris Allison --> This is going to be my starting setup
Bill's Setup OCT-2020 (semi-aggressive)
Bill's Setup FEB-2021 (easy to drive)
Hits:
- One of the most durable platforms on the market
- 50% Lifetime Warranty
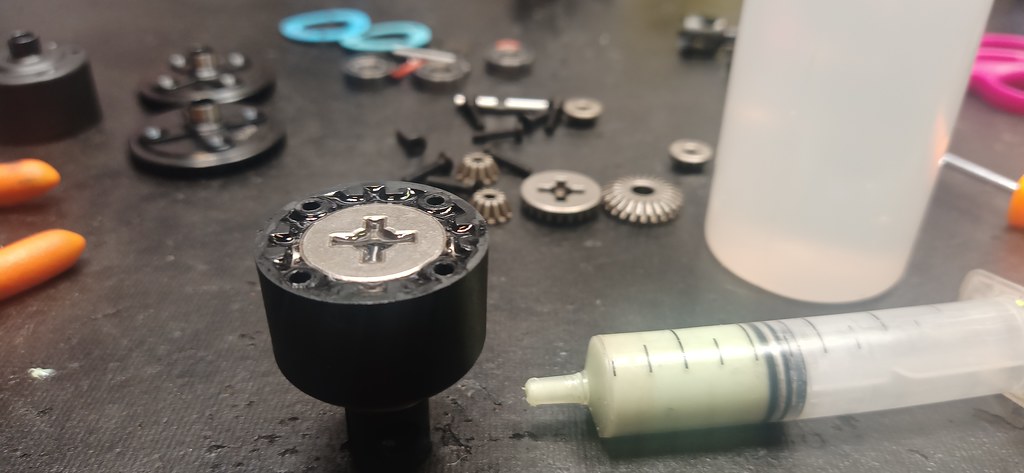
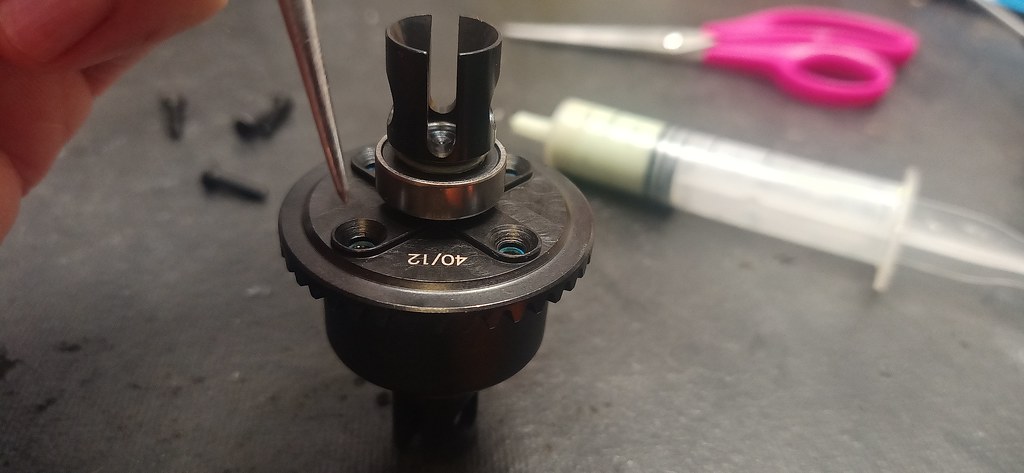
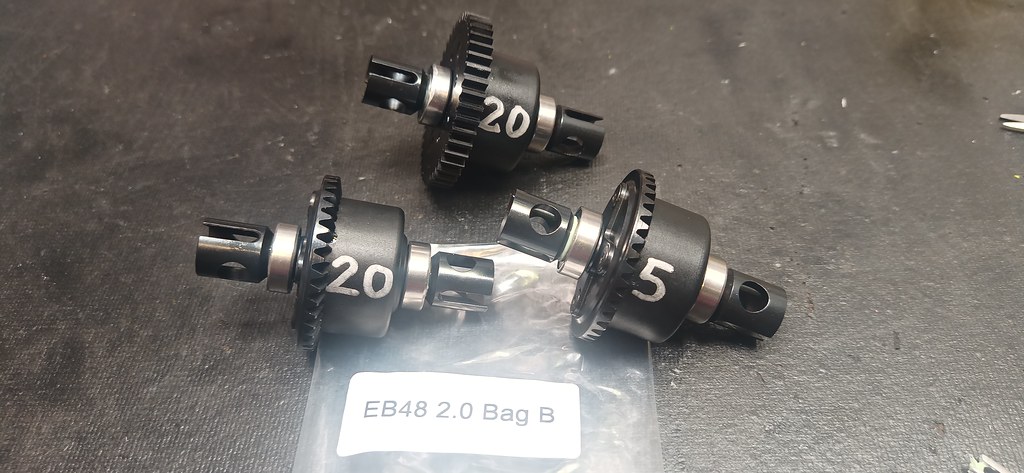
- Quick access to all 3 diffs
- Industry leading geometry loaded with more tuning options than anyone else on the market currently
- Most of the parts are not backward compatible
- May need to buy all new sets of spare parts for pit box
- Rx box is not dust proof, there is an over sized hole for the wiring that should be filled
- TEKNO sets the standard for most other race grade brands to follow in this class! They check off all the boxes for being one of the most competitive, durable and high quality products backed with plenty of team driver support as well as one of the best parts support supply chains on the planet! You can't go wrong with this platform for either a basher or a racer.
- Durability (for bashers and racers)
- TKR5253B - 25T Aluminum Servo Arm
- Tekno EB48 2.0 Carbon Fiber Motor Fan Mount-TTH1053
- TKR9090A – Aluminum Sway Bar Collars
- Compatible Aftermarket Options:
- Serpent - SER903343
- T-Works - TO283
- Compatible Aftermarket Options:
- Extend Tuning Window (for racers)
- Team Thornhill Kinpin Camber Mod (for long links)
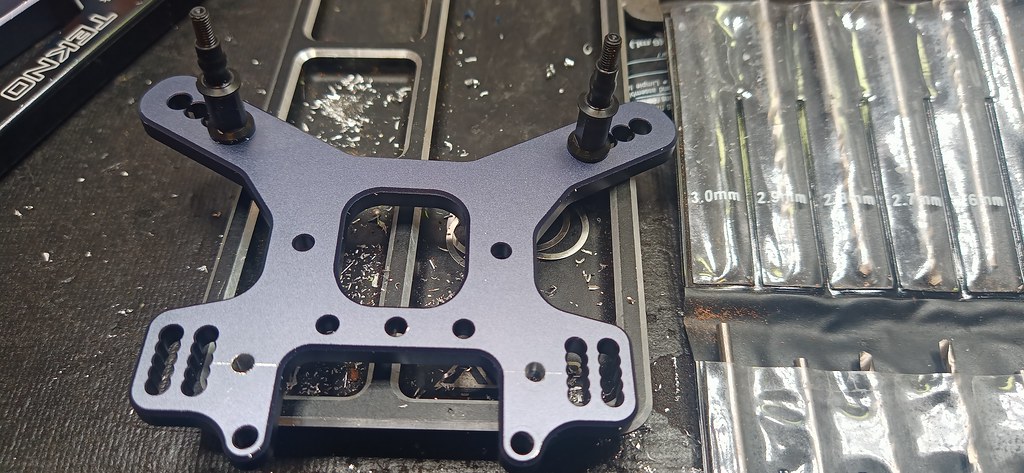
- Team Thornhill Long Link Front Tower
- Team Thornhill Long Link Rear Tower
- Team Thornhill Bump Stop Cushions
- XRAY Rear Beefy-Long Link Mod (for rear)
- TKR6163 - Flat Blank Pistons
- TKR6017T - TiNi Coated Shock Shafts
- TKR9042 - 15° Spindle Carriers ( not needed for stable setup)
- TKR9077 - 15g Brass Weight (front)
- TKR9181T - Tall Wing Mount
- TLR243004 - 16mm Shock Bladders
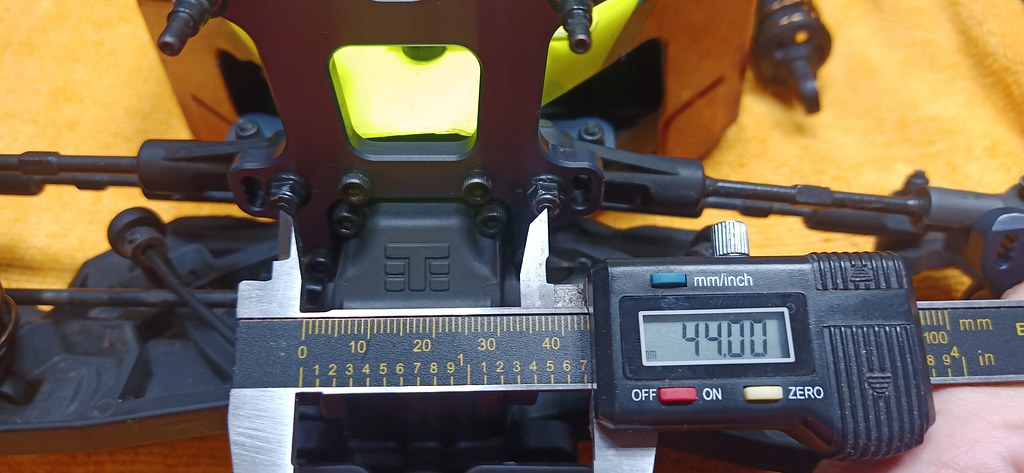
Build Tips:
- TEKNO Build Tips
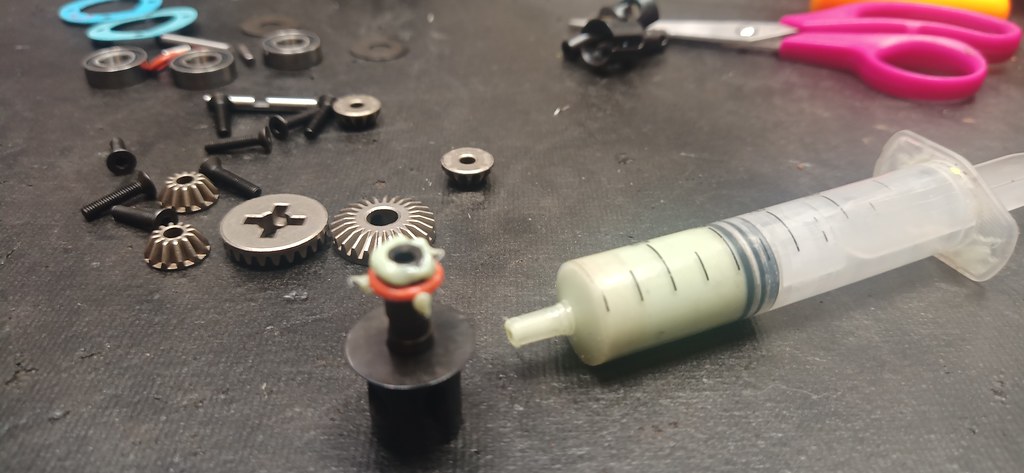
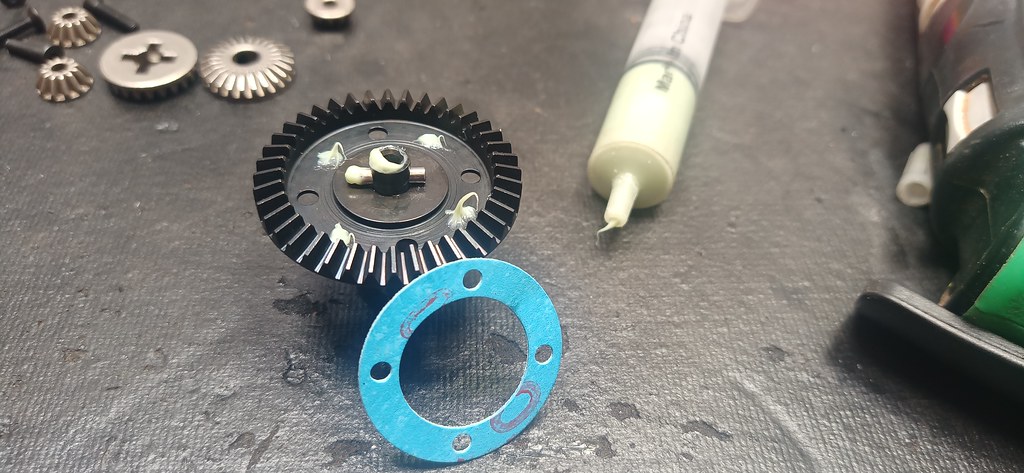
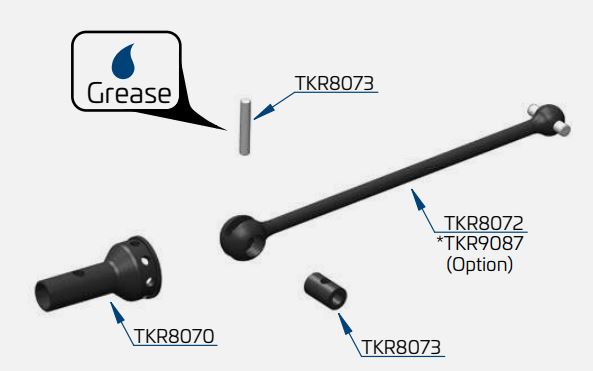
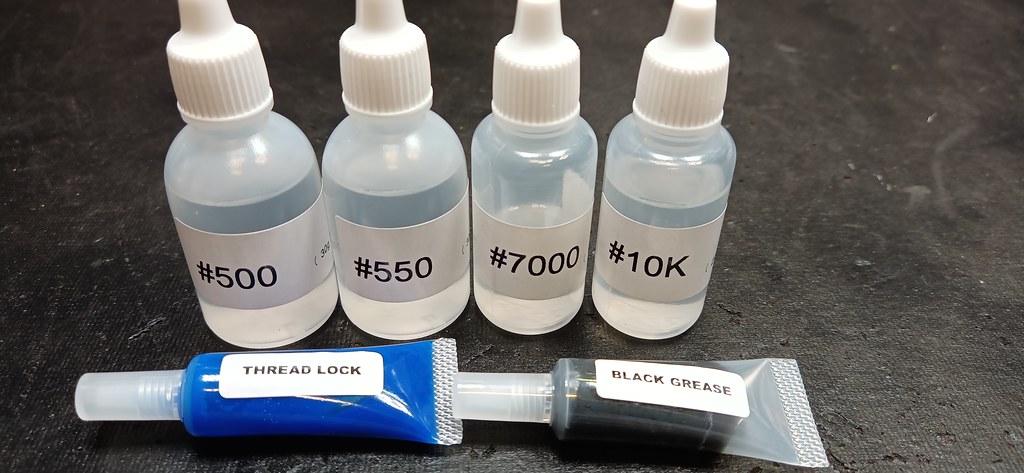
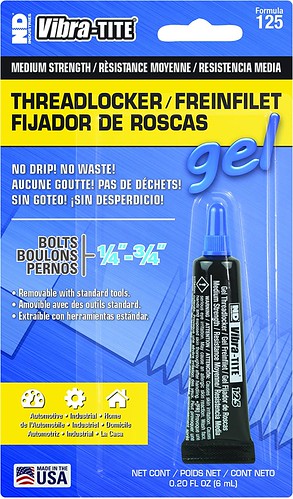
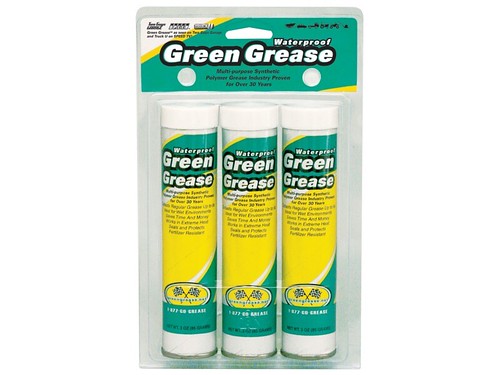
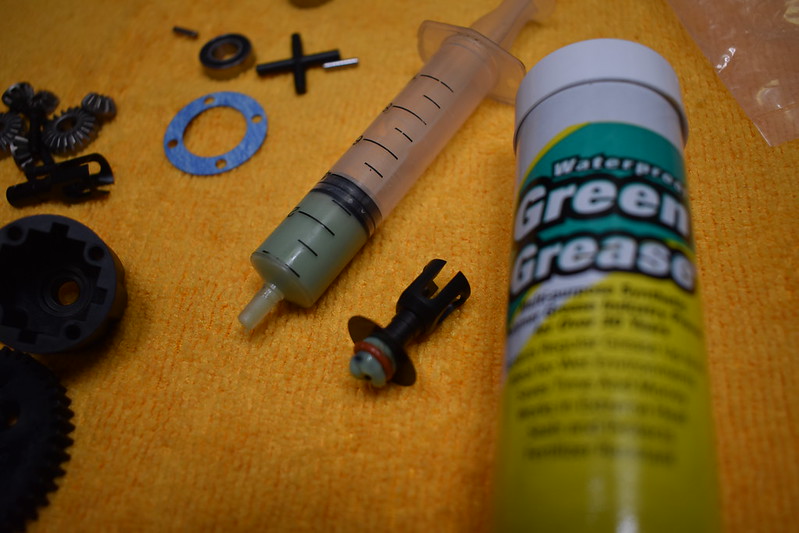
- Use a Gel Based Thread Lock and Tinted Grease
- Use "skewer" method to apply grease and pack seals
- Pre-drill holes to mount ESC with screws
- Use alcohol swab to degrease plastic before applying 3M tape
- Use 3/4" wide velcro tape to tidy wiring on battery strap
- Use paper to set mesh between pinion and spur
- Use upper hole on motor plate for off-road use
- Grind caster blocks for more steering
- Use Kydex to support battery and orient wiring of battery toward the rear
Spare parts I keep in my pit box:
- inner/outer hinge pins
- Arms and pin collars
- Front Spindles
- Camber links and shock shafts
- drive shafts and CVD repair kit
- set screws/pins for hubs
- A and C blocks
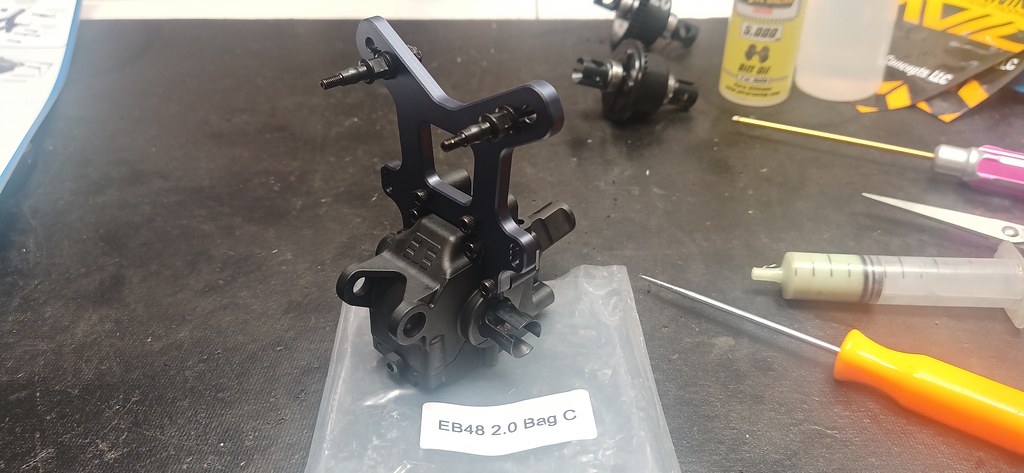
- Front/rear gear boxes
- shock boots
- spur gear
- front bumper
- out drives
- servo arm (yes they strip)
- front sway bar (can bend if you tangle with lap traffic)
Last edited:
")
")